

Scroll-to-text has been a topic that I’ve written about a lot over the past couple of years. Google originally launched with pages built using AMP, then expanded this functionality to their Chrome browser.
Within Chrome, it was enabled just for Featured Snippets. But has since expanded into other areas of Search, such as Knowledge Panels, editorial reviews for some free product listings, Google Images, and more.
The focus for this post will just be on the Chrome version, because the AMP functionality doesn’t utilise the browser. When I came across this tweet from Bramus Van Damme, I was very excited about the launch of customising the highlight colour of scroll-to-text in Canary.
I went ahead and created a test on this site, modifying the CSS to include the new TargetText pseudo-element in the recent support via Canary:
Very cool. Was waiting for scroll-to-text custom highlights to launch since @tomayac announced, now available in Chrome Canary!
— Brodie Clark (@brodieseo) February 1, 2021
Added this CSS as a test:
::target-text {
background: #03D0EA;
}
Highlight is now blue, instead of the default yellow.
h/t @jonoalderson @bramus pic.twitter.com/VkU2PSxBqO
This was originally announced on Twitter by Google Web Developer Advocate, Thomas Steiner, in October of 2020. Am now glad to say that Glenn Gabe pinged me this morning saying that this feature has now moved from Canary to Chrome Stable – available within version 89.
To have the ability to see the custom highlight feature on sites in Chrome, you’ll need to update your browser to the latest version if you haven’t already. You can do so by visiting this URL: chrome://settings/help and making sure you’re using the latest version.
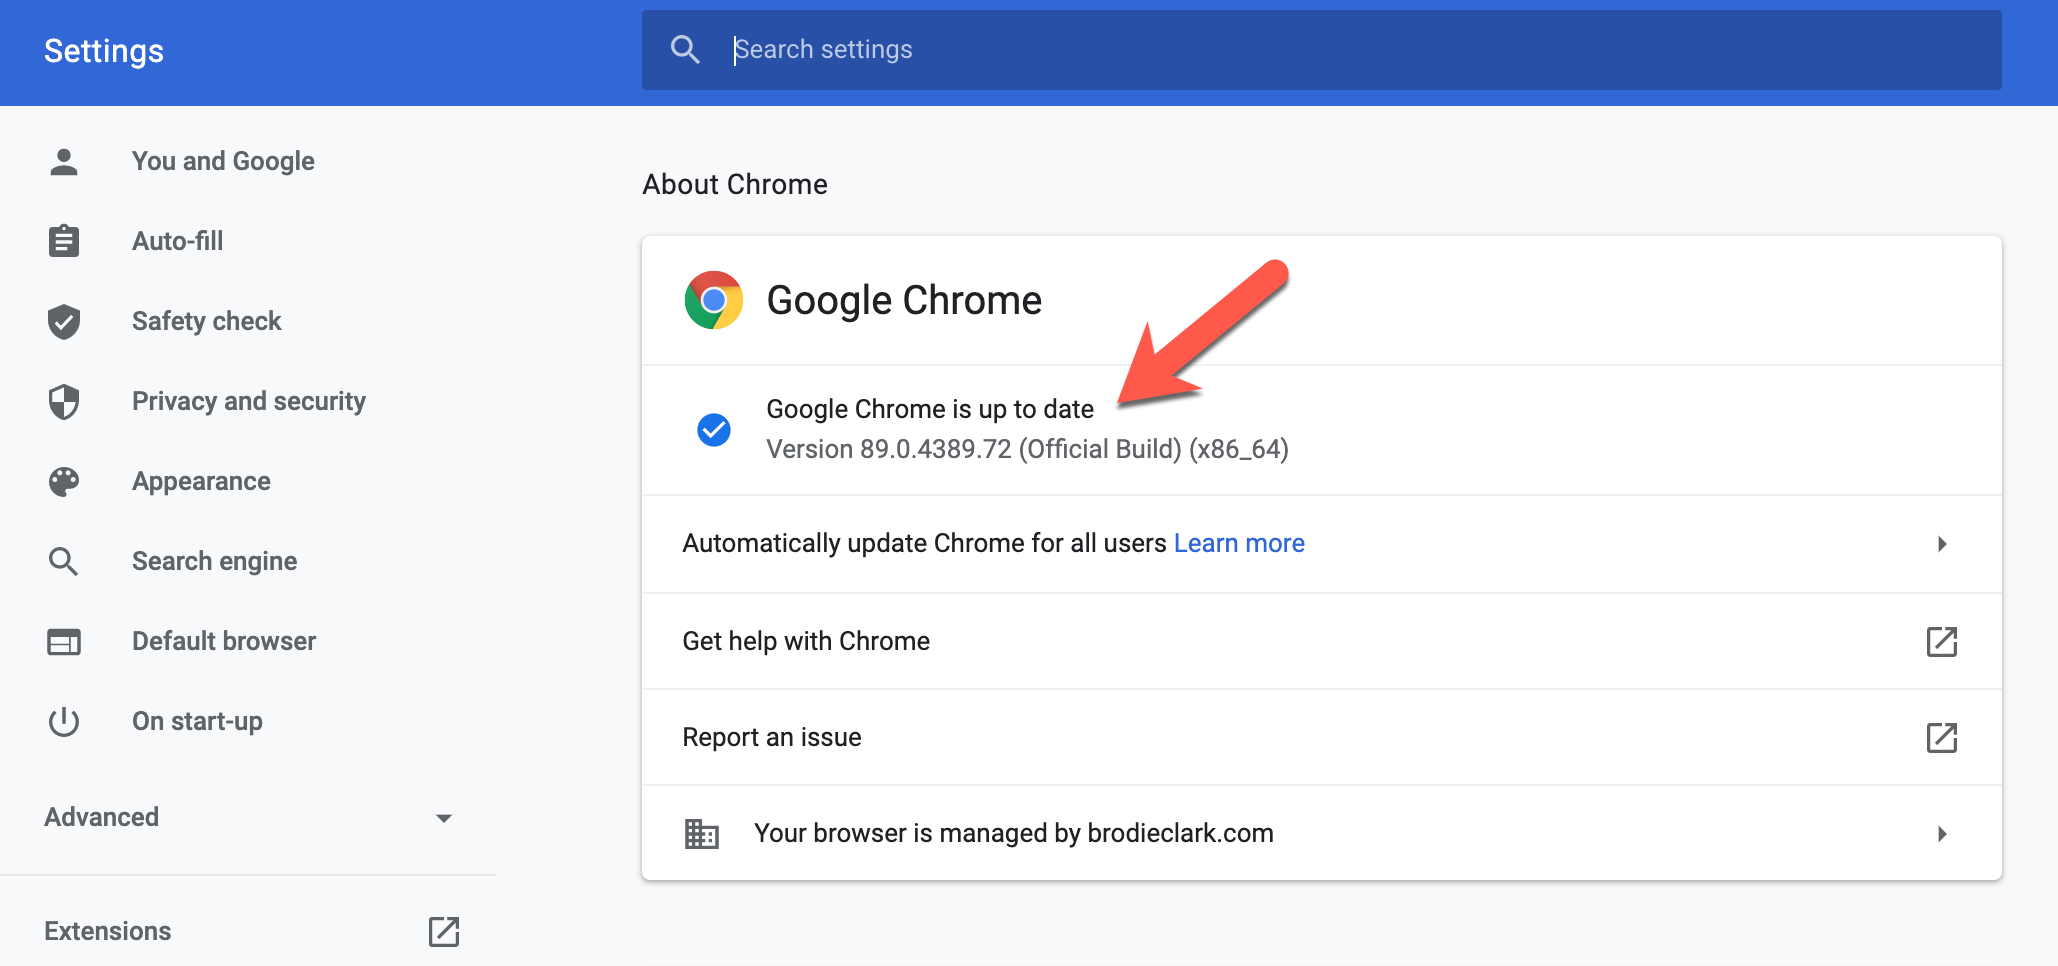
Now that your browser is up-to-date, I’ll explain more about how to get the custom highlights enabled for your site, and how you can easily test this out using any URL on my site. Here’s the 3-step process:
1. Deciding the colour for your highlight
The default highlight that Chrome uses for any site is yellow. I have never really minded this colour for a highlight of black text on a white background, but I’ve seen complaints in the past that more customisation is needed.
So here we are! But keep in mind that the highlight colour you’ll pick initially might not contrast well with the content on the page, and we don’t want users to struggle to read content once a convenient link with TargetText parameters has been clicked.
Originally, I used a light blue in my CSS (which I’ll get to in a moment), shown in the video I embedded higher up in this post. The issue was that it was difficult to read, so I went with a very light shade of red.
Again, I think the yellow highlight is absolutely fine in most cases, this is just something fun that you can customise on your own site, or if the yellow doesn’t work on your site for whatever reason.
2. Editing the CSS in your theme files
If using WordPress, this is made very easy. If you’re using a different CMS, then proceed with caution. Or get a Developer involved if you’re not comfortable making these changes yourself.
In WordPress you need to select the Appearance tab > Edit CSS > Additional CSS. Here’s what the section looks like that you want to navigate to in WordPress to make the addition to your CSS:
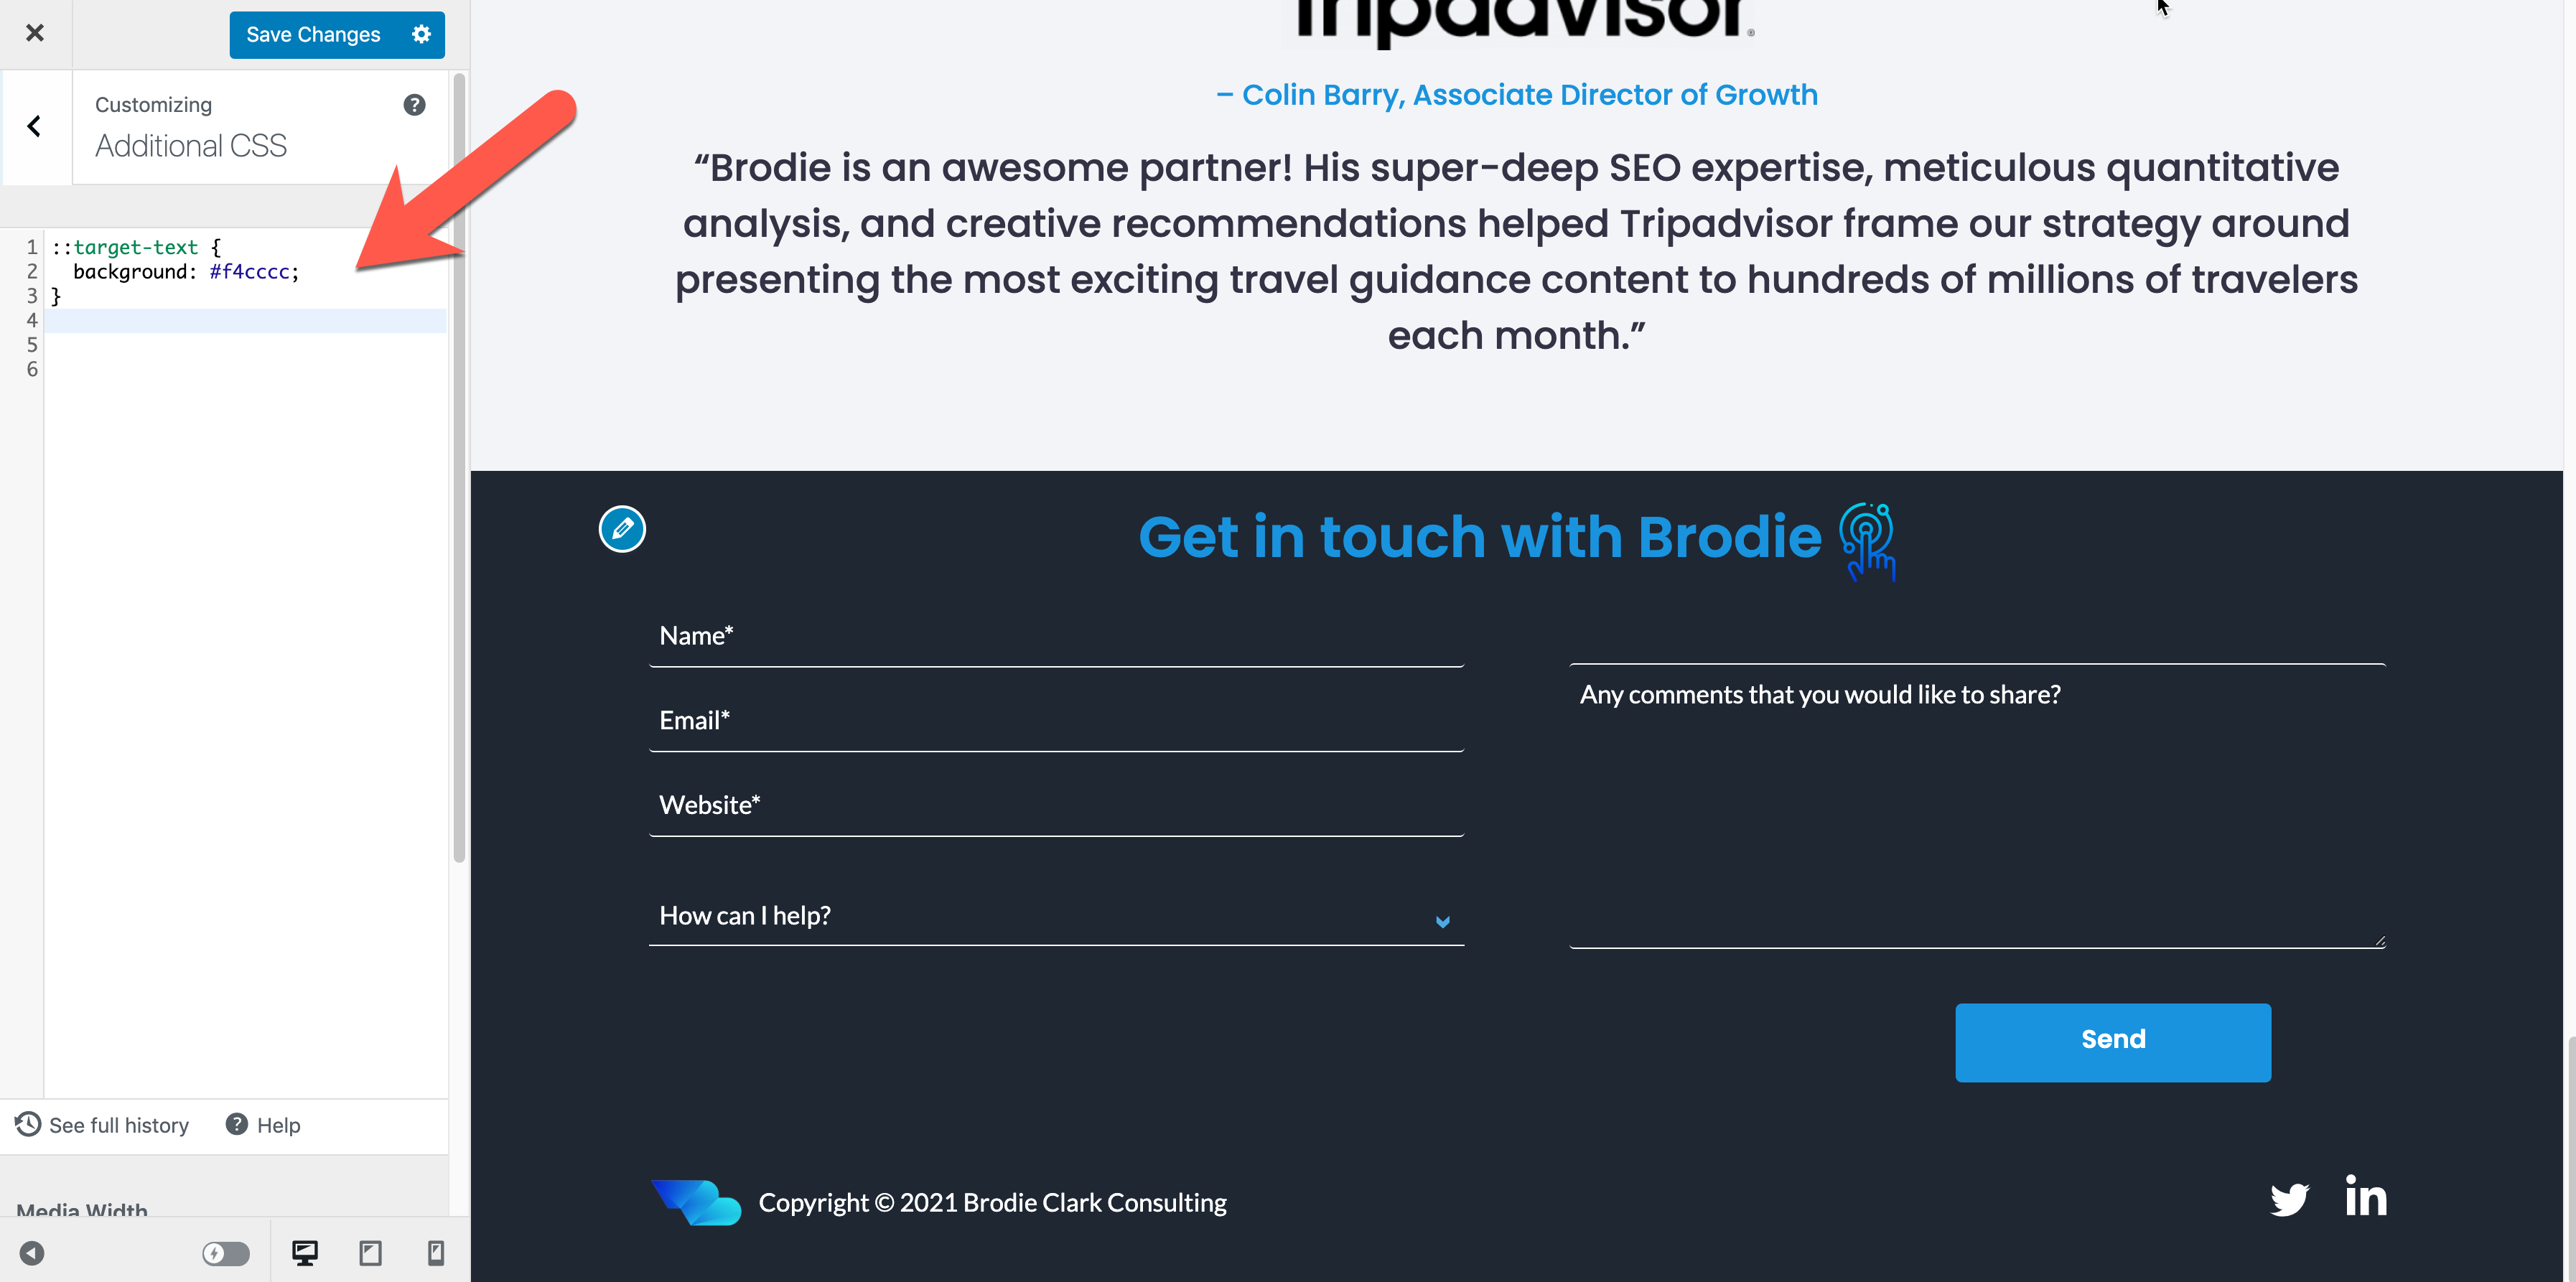
Once here, you can use the following and customise with your colour of choice:
::target-text {
  background: #f4cccc;
}
Once you’ve made the change, select ‘save changes’.
3. Testing out your new setup in Chrome 89
As mentioned earlier, it is the browser that is enabling this customisation. So we don’t need to rely on Google Search to create a scenario where the highlight triggers, and can instead put the Link to Text Fragment extension to good use.
Simply highlight the section of content on your site with your cursor that you want to test out, right click, then select ‘copy link to selected text’. Here’s what this should look like after the Chrome extension has been installed:

Once you have the URL, plug it into your Chrome browser and you should see the scroll-to-text functionality in action with your new customised coloured highlight. And if you rank within a Featured Snippet on Google, you can do a similar test there too.
Here’s where you can find the TargetText pseudo-element within DevTools:
As shown by @bramus, here’s where to locate the ::target-text pseudo-element in Canary DevTools. pic.twitter.com/06zbp5brJ4
— Brodie Clark (@brodieseo) February 1, 2021
Final thoughts
Is always fun when Chrome releases new features that website owners can play around with. In this case, I’ve been excited for this launch since it was first announced roughly 5 months ago, with recent release in Canary and now within Stable.
To reiterate, I believe the default yellow highlight is appropriate for sites in the vast majority of cases. I’m going to keep my light red highlight on my site for the time being, because… well why not. As always, if you give this a try and have any feedback on the process or ideas, I’m all ears.


